
Residential siding installation is a detailed process that ensures your home is properly protected while also improving its appearance and structural durability. Understanding each step helps homeowners feel more confident when planning a siding project and makes it easier to communicate with contractors. For homeowners in Lewes and surrounding areas, proper installation is especially important due to moisture exposure, seasonal weather changes, and long term wear on exterior materials.
- Clear expectations: Knowing the installation process helps homeowners understand timelines and what to expect during each phase.
- Better preparation: Understanding the steps allows homeowners to plan ahead and prepare their property.
- Long term performance: Proper installation ensures siding materials perform reliably for years.
Why Proper Siding Installation Matters
Siding is not just an exterior finish. It is part of a complete system designed to protect your home from water intrusion, wind, and environmental exposure. When siding is installed correctly, it helps maintain the structural integrity of your home and supports energy efficiency.
In areas like Lewes and surrounding areas, homes are exposed to humidity, rain, and fluctuating temperatures. These conditions make proper siding installation even more important. Each layer and component of the system must work together to prevent moisture intrusion and ensure long term durability.
8 Steps of Residential Siding Installation
Installing siding involves several coordinated steps that prepare the structure, install protective layers, and complete the finished exterior. Each stage of residential siding installation plays a critical role in how the system performs over time.
1. Initial Inspection and Project Planning
The process begins with a detailed inspection of the home’s exterior. Contractors evaluate the current siding, trim, and structural condition to determine the scope of the project and identify any underlying concerns.
- Exterior assessment: The existing siding and structural components are inspected for damage or wear.
- Project planning: Materials, layout, and installation methods are determined based on the home’s needs.
- Preparation steps: Crews prepare equipment, safety measures, and materials before work begins.
This step helps ensure that the installation process starts with a clear plan and realistic expectations.
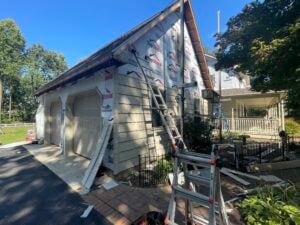
2. Removal of Existing Siding
If the project involves replacing old siding, the existing materials must be carefully removed. This exposes the wall structure underneath and allows for a proper evaluation of the home’s exterior condition.
- Siding removal: Old panels, boards, and fasteners are taken off the exterior walls.
- Surface access: The wall assembly becomes visible for inspection and preparation.
- Worksite cleanup: Debris is removed to create a safe and clean installation area.
Removing old materials is an important step because it reveals any hidden issues that could affect the new siding system.
3. Wall Inspection and Necessary Repairs
After the siding is removed, contractors inspect the wall sheathing and framing. Any damage found at this stage must be addressed before new siding is installed.
- Structural evaluation: The wall surface is checked for moisture damage, rot, or deterioration.
- Repairs completed: Damaged sheathing or framing components are repaired or replaced.
- Stable base: A solid and even surface is prepared for the new siding system.
Skipping this step can lead to future problems, which is why it is a critical part of residential siding installation.
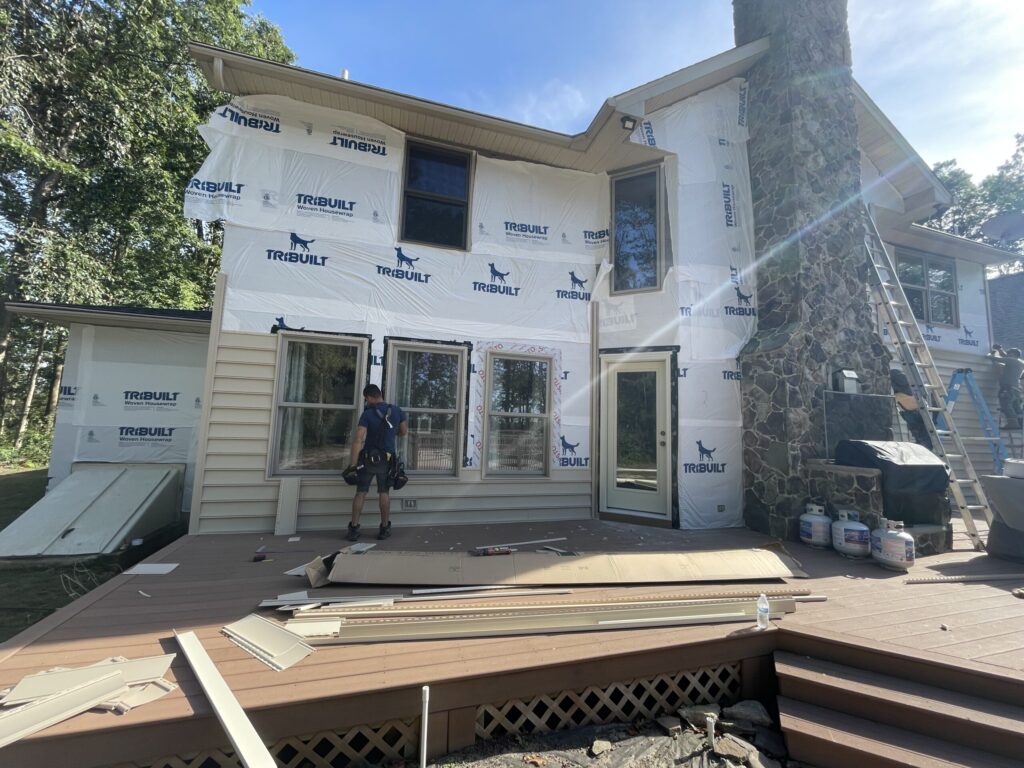
4. Installation of Weather Resistant Barrier
A weather resistant barrier is installed over the wall sheathing to protect against moisture intrusion. This layer acts as a secondary defense behind the siding.
- Moisture protection: The barrier helps prevent water from reaching the interior structure.
- Air resistance: It reduces air infiltration that can impact energy efficiency.
- System support: This layer improves the performance of the overall siding system.
This protective layer is essential, especially in climates where moisture exposure is common.
5. Flashing and Trim Preparation
Flashing and trim components are installed around windows, doors, and other transitions. These areas are more prone to leaks and require additional protection.
- Leak prevention: Flashing directs water away from openings and seams.
- Critical areas: Corners, joints, and penetrations receive special attention.
- Water control: Proper installation helps manage how water moves across the surface.
Careful flashing installation is one of the most important factors in preventing water damage over time.
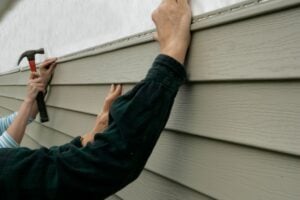
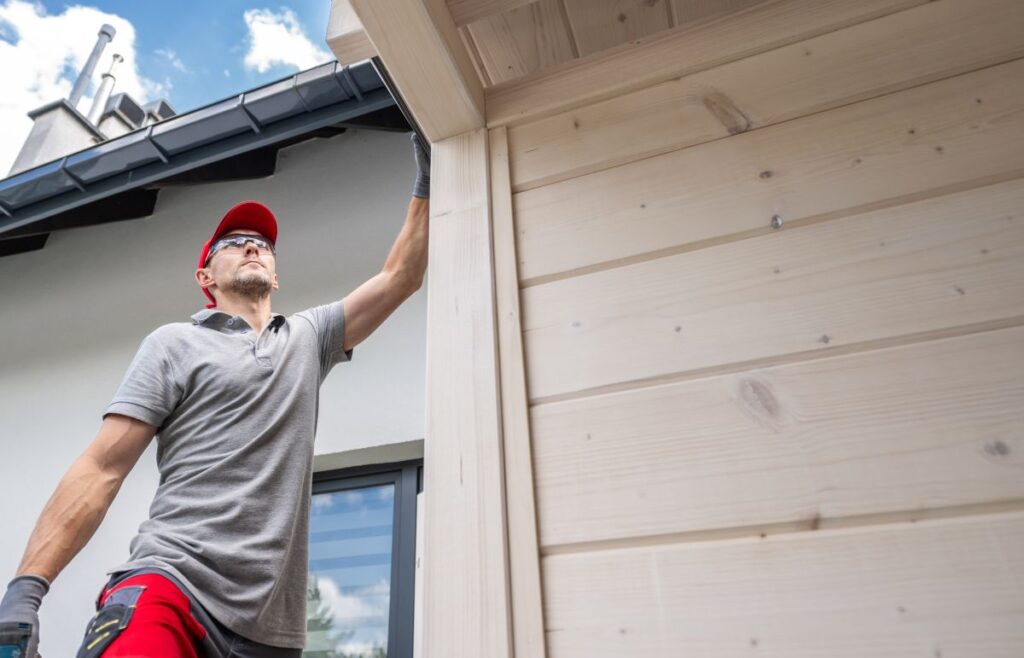
6. Siding Material Installation
Once the structure is prepared, the siding material is installed according to manufacturer guidelines. Proper placement and fastening are essential for both performance and appearance.
- Material placement: Panels or boards are installed in the correct pattern and alignment.
- Proper fastening: Fasteners are applied to allow for natural expansion and contraction.
- Uniform appearance: Consistent installation improves the finished look of the home.
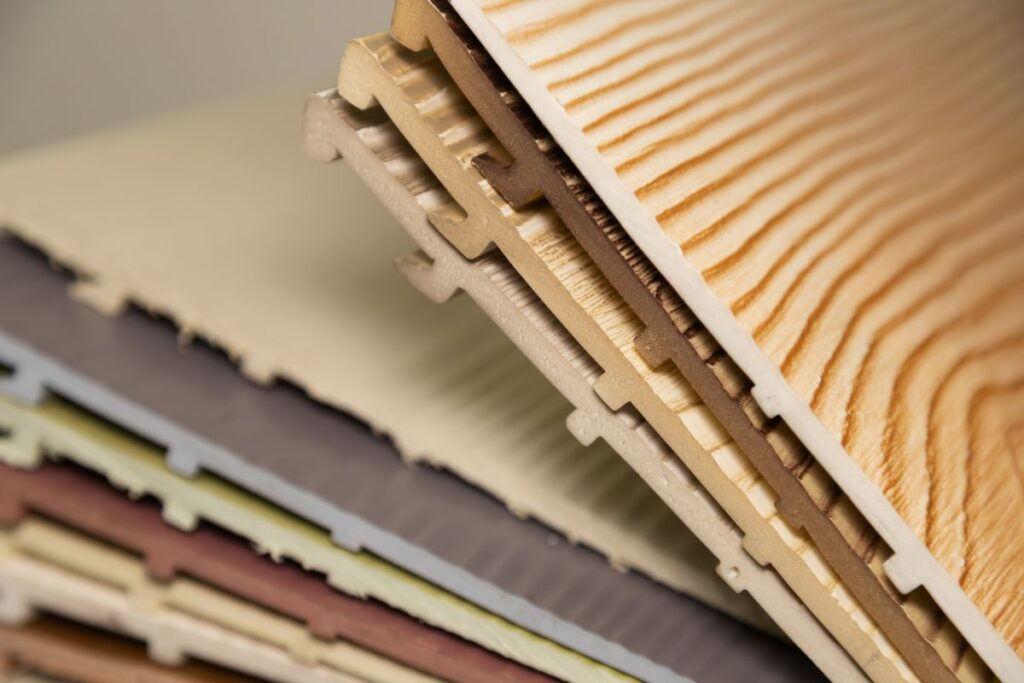
Different materials such as vinyl, fiber cement, or engineered wood may have slightly different installation requirements, but the goal remains the same.
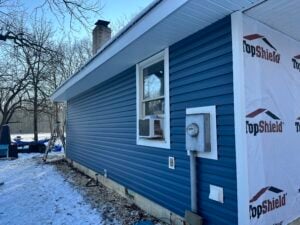
7. Ventilation and Finishing Components
Ventilation and finishing elements are installed to complete the siding system. These details help regulate airflow and protect the structure from trapped moisture.
- Airflow management: Ventilation helps prevent moisture buildup within the wall system.
- Trim installation: Corners, edges, and finishing pieces are installed securely.
- System completion: These components ensure the siding system functions as intended.
Proper ventilation is especially important in areas like Lewes and surrounding areas where humidity levels can fluctuate throughout the year.
8. Final Inspection and Site Cleanup
After installation is complete, contractors perform a final inspection to confirm that everything was installed correctly. Cleanup is also completed to leave the property in good condition.
- Installation review: The entire siding system is checked for accuracy and completeness.
- Debris removal: All leftover materials and waste are cleared from the site.
- Project completion: The home is left with a fully installed siding system ready to perform.
This final step ensures that the project meets quality standards and that the homeowner is satisfied with the results.
Siding Installation Done Right Matters
Understanding the residential siding installation process gives homeowners a clear view of what goes into protecting their home. Each step contributes to the durability, performance, and appearance of the finished siding system.
Grand Exteriors provides professional siding installation services for homeowners in Lewes and surrounding areas. Our team follows proven installation practices and uses high quality materials to ensure every siding system is installed correctly and built to last. If you are planning a siding project, contact Grand Exteriors today to schedule a free consultation and estimate.