Roof Inspection Checklist You Shouldn’t Skip in 2026
A thorough roof inspection checklist protects your home from leaks, wind damage, and structural decay by catching small issues before they turn into $10,000 repairs. With 2026 already shaping up to bring active hurricane and nor’easter seasons along the Atlantic coast, homeowners in Lewes and surrounding areas need a clear, repeatable checklist they can run twice a year. This guide walks through every component a professional roof inspection covers, what each warning sign means, and when to call a certified contractor.
- Complete inspection points: Every exterior, interior, and attic component a quality inspection must cover.
- 2026 specific guidance: Updated cost ranges, code references, and storm prep priorities for the year ahead.
- Warning signs decoded: What curling shingles, granule loss, and flashing gaps actually mean for your roof’s lifespan.
What Is a Roof Inspection?

A roof inspection is a systematic visual and physical evaluation of every roofing component to identify damage, wear, and performance issues. Professional inspections in Delaware typically cost $150 to $400 and take 45 to 90 minutes depending on roof size and complexity, while a homeowner’s self check from the ground takes 15 to 20 minutes.
Why Should You Inspect Your Roof Twice a Year?
Twice yearly inspections in spring and fall catch seasonal damage before it compounds into structural problems. Spring inspections reveal damage from winter freeze thaw cycles, ice dams, and snow load, while fall inspections prepare the roof for the next round of harsh weather. Skipping these checks is one of the most common reasons asphalt shingle roofs fail at 15 years instead of reaching their 25 to 30 year design life.
- Spring timing: Catches winter damage before it allows summer rain infiltration.
- Fall timing: Identifies summer UV degradation before winter ice and snow loads arrive.
- Post storm checks: Hail, high wind, and falling branches require immediate inspection regardless of season.
- Warranty protection: Many manufacturer warranties require documented inspections to remain valid.
What Does a Professional Roof Inspection Include?
A professional roof inspection covers four core areas: exterior surface, flashing and penetrations, gutters and drainage, and attic interior. Certified inspectors document their findings with photos, measurements, and written reports that homeowners can use for insurance claims, real estate transactions, and warranty documentation. The inspector evaluates roughly 30 to 40 individual components depending on roof complexity and looks for signs of wear, storm damage, installation defects, and ventilation problems. In Lewes and surrounding areas, where coastal humidity and salt air accelerate certain failure modes, an experienced local inspector knows exactly what to flag.
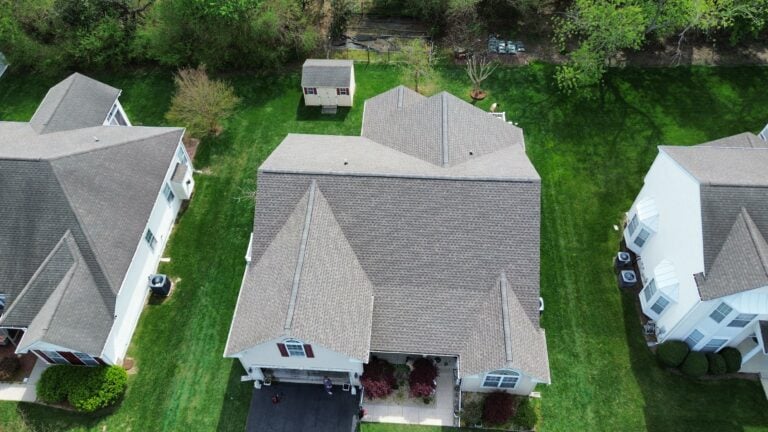
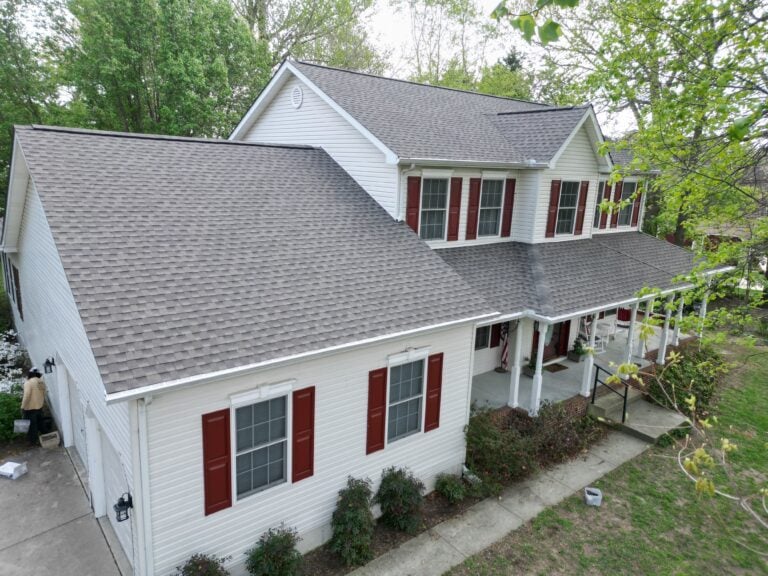
- Visual surface scan: Drone or ladder inspection of every shingle, ridge, valley, and edge.
- Penetration check: Detailed evaluation of chimneys, vents, skylights, and pipe boots.
- Drainage assessment: Gutters, downspouts, and grading checked for proper water flow.
- Attic interior: Insulation, ventilation, and underside of decking inspected for moisture or daylight.
7 Step Roof Inspection Checklist (2026)
The seven category checklist below mirrors the framework GAF Master Elite contractors use during professional inspections. Each item should be checked methodically, with photos taken of any concerns for comparison during the next inspection.
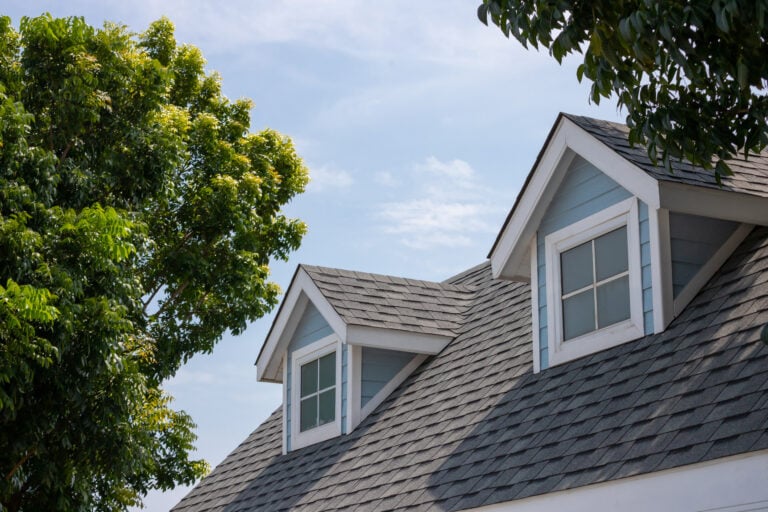
1. Inspect Shingle Condition and Surface Damage
Shingle inspection is the first checklist item and reveals the most about a roof’s remaining service life. Walk the perimeter of the home with binoculars and look for curled edges, cracked tabs, missing shingles, dark streaks indicating algae growth, and bald spots where the protective granules have worn away. Granule loss accelerates rapidly in the final years of a shingle’s life, and finding granule buildup in gutters or at downspout outlets is a clear sign that replacement is approaching. Asphalt shingles that show three or more of these issues across multiple roof slopes typically have less than five years of service life remaining.
- Curling or cupping: Edges lifting upward indicate moisture damage or end of life shingles.
- Cracked or split tabs: Visible cracks through the shingle face allow water beneath the surface.
- Missing shingles: Any gap in the field exposes the underlayment to UV and water damage.
- Granule loss: Bald spots, dark patches, and gutter buildup signal advanced wear.
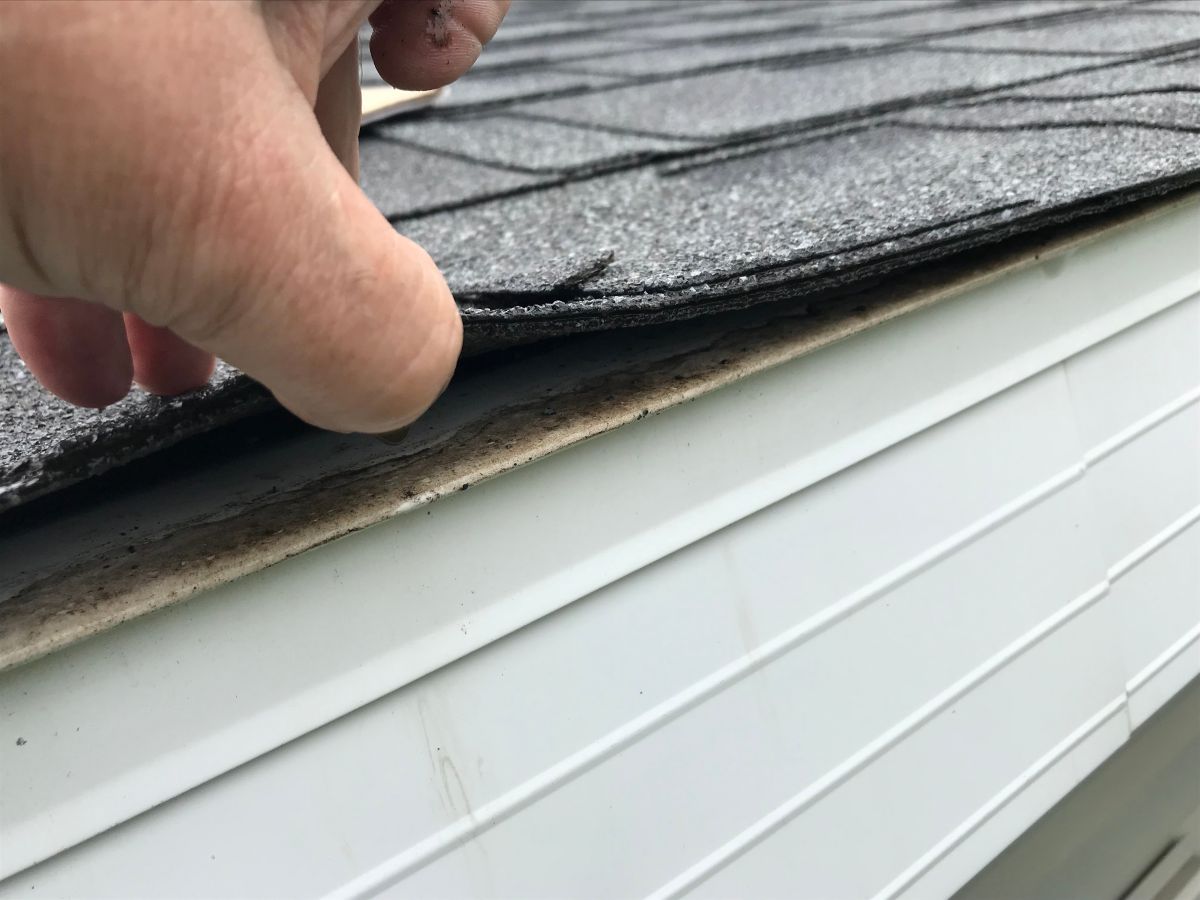
2. Check Flashing Around Penetrations
Flashing inspection focuses on the metal transitions where the roof meets walls, chimneys, skylights, and vent pipes. These are the most leak prone areas of any roofing system because they involve dissimilar materials expanding and contracting at different rates. Look for rust on galvanized step flashing, gaps where caulking has shrunk away, and lifted edges where wind has worked metal loose from the substrate. Pipe boots fail particularly often, with the rubber collar around plumbing vents typically cracking and splitting after 10 to 15 years of UV exposure.
- Step flashing: Check for gaps, rust, or lifted edges along walls and chimneys.
- Pipe boots: Look for cracked rubber collars around plumbing vent pipes.
- Skylight seals: Inspect the perimeter caulking and metal frame for separation.
- Counter flashing: Verify chimney counter flashing is still embedded in the masonry joint.
3. Evaluate Gutters and Downspouts
Gutter and downspout inspection catches drainage issues that cause fascia rot, foundation problems, and ice dam formation. Clogged gutters back water up under the shingles at the eave line, which leads to rotted decking and interior leaks even when the roof itself is sound. Check for sagging sections where fasteners have pulled loose, separated seams that drip onto siding, and downspouts that discharge water within 4 feet of the foundation. Granule accumulation in gutters is also one of the strongest indicators of asphalt shingle aging and should be measured and photographed for trend tracking.
- Debris buildup: Leaves, twigs, and shingle granules block proper water flow.
- Sagging sections: Loose fasteners cause gutters to pitch incorrectly and pool water.
- Seam leaks: Separated joints drip water behind the gutter onto fascia boards.
- Downspout extensions: Water should discharge at least 4 to 6 feet from the foundation.
4. Inspect Roof Penetrations and Chimneys
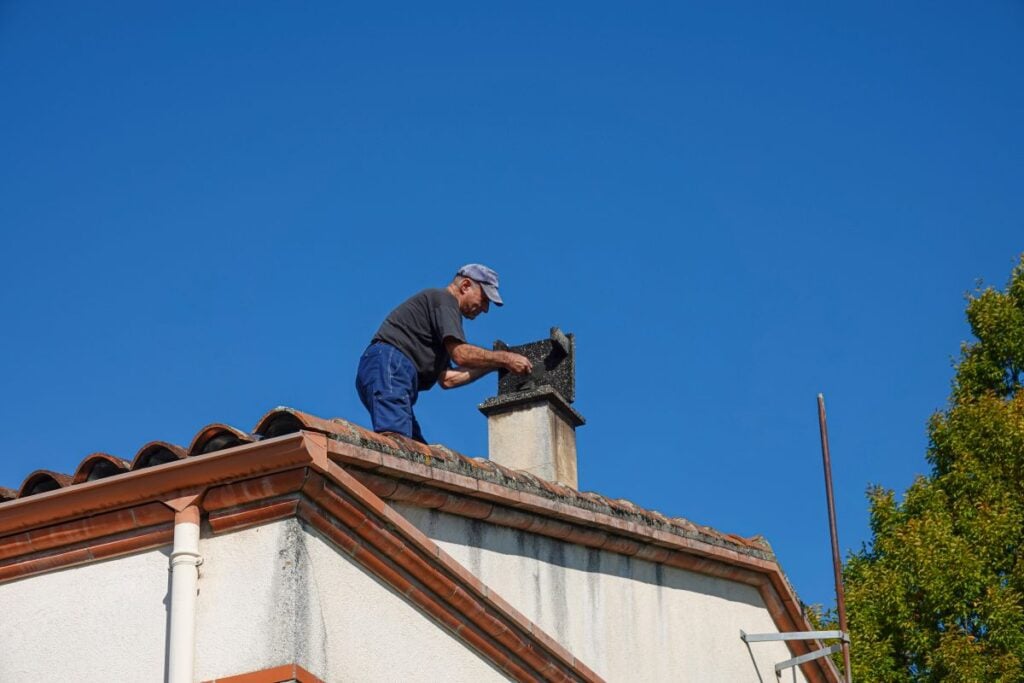
Roof penetration inspection covers every spot where something pokes through the roof surface. Chimneys deserve particular attention because they involve masonry, mortar, flashing, and crown details that all fail at different rates. Look for cracked mortar joints, deteriorated chimney crowns, missing chimney caps, and rust streaks on the side of the chimney from failing flashing. Other penetrations to check include attic vents, satellite dish mounts, solar panel anchors, and any abandoned penetrations that may have been improperly patched during previous repairs.
- Chimney crown: The concrete cap at the top should be intact with no cracks or spalling.
- Mortar joints: Look for missing or crumbling mortar between bricks.
- Vent caps: Plastic and metal vent caps crack and detach over time.
- Satellite mounts: Old dish mounts often leak after the dish itself is removed.
5. Check the Attic Interior
Attic inspection reveals problems invisible from the outside and is often the most informative part of a roof inspection. Climb into the attic with a flashlight on a sunny day and look for daylight coming through any spot it shouldn’t, water stains on the rafters and decking, compressed or wet insulation, and signs of pest intrusion. Mold growth on the underside of the decking is a strong indicator of inadequate ventilation, while rust on the roofing nails poking through the deck signals long term moisture problems. Attic temperature should track within 10 to 15 degrees of the outdoor temperature in summer, since hotter readings indicate insufficient ventilation that bakes the shingles from below.
- Daylight intrusion: Any visible daylight through the deck means water can get in too.
- Water stains: Brown rings or streaks on rafters indicate active or past leaks.
- Insulation condition: Wet, compressed, or moldy insulation must be replaced.
- Ventilation balance: Soffit intake and ridge exhaust should produce a noticeable airflow.
6. Assess Ventilation and Insulation
Ventilation and insulation inspection determines whether the roof system is performing thermally as designed. Proper attic ventilation can extend asphalt shingle lifespan by up to 25% by reducing heat buildup and moisture accumulation, while inadequate ventilation accelerates shingle aging from below and contributes to ice dam formation in winter. Check that soffit vents are not blocked by insulation, that the ridge vent is unobstructed, and that any gable vents or attic fans are functioning correctly. Insulation should be evenly distributed at the manufacturer recommended R value, which is R49 to R60 for most Delaware homes.
- Soffit vents: Verify air can flow freely without insulation blocking the openings.
- Ridge vent: Confirm the exhaust path at the peak is clear of debris.
- R value: Insulation should meet current code, typically R49 to R60 in Delaware.
- Vapor barrier: Check for proper vapor barrier installation under the insulation.
7. Document Structural and Sagging Issues
Structural inspection is the final checklist item and looks at the overall shape and integrity of the roofline. Stand at the curb and sight along the ridge, eaves, and rakes looking for any waviness, dipping, or sagging that suggests rafter or truss problems. Sagging between rafters often indicates compromised decking, while a sagging ridge points to a failing structural member that requires immediate professional evaluation. Photograph the rooflines from multiple angles and compare to previous inspection photos to spot changes over time, which is the most reliable way to catch slow developing structural problems.
- Ridge line: Should be perfectly straight from end to end with no dipping.
- Eave line: Check for sagging between rafter ends along the gutter line.
- Decking waves: Visible waviness in the field signals soft or failing plywood.
- Photo comparison: Year over year photos catch slow changes the eye misses in real time.
How Much Does a Professional Roof Inspection Cost in 2026?
Professional roof inspections in Delaware cost $150 to $400 in 2026, with most reputable contractors offering free estimates for any roof showing visible damage or storm impact. Drone assisted inspections typically run $250 to $500 and provide higher resolution documentation than traditional ladder inspections.
What Factors Affect Inspection Pricing?
Several variables determine where a specific inspection falls within the typical price range. Roof size measured in squares (one square equals 100 square feet) is the primary driver, since larger roofs simply take more time to evaluate thoroughly. Roof pitch and accessibility also matter, since steep or complex roofs require additional safety equipment and slower work pace. Additional services like infrared moisture scanning, drone photography, and detailed insurance claim documentation add to the base price but provide significantly more value for storm related claims.
- Roof size: Each additional 1,000 square feet typically adds $50 to $100 to the inspection cost.
- Pitch and complexity: Steep roofs with multiple valleys require more time and gear.
- Drone imaging: Adds $100 to $200 but produces archival quality documentation.
- Insurance documentation: Detailed reports for claims add $50 to $150 to the standard fee.
Frequently Asked Questions

How Often Should I Get a Roof Inspection?
Most homeowners should schedule professional roof inspections twice per year in spring and fall, plus additional inspections after major storms involving hail, high wind, or fallen trees. New roofs under 5 years old can sometimes stretch to one inspection per year, while roofs over 15 years old benefit from quarterly checks during severe weather seasons.
Can I Inspect My Own Roof Safely?
Homeowners can safely perform a ground level visual inspection using binoculars and an attic flashlight check, but should not climb onto the roof itself. Falls from residential roofs cause hundreds of serious injuries each year, and a professional inspector with proper safety equipment will catch issues a homeowner inspection misses. Reserve DIY inspections for between professional visits as a way to spot obvious storm damage.
Will a Roof Inspection Affect My Homeowners Insurance?
A roof inspection can affect your homeowners insurance both positively and negatively. Documented inspections often qualify policyholders for premium discounts, but if an inspector finds significant damage, your insurer may require repairs or non renewal. Working with a contractor experienced in insurance claims assistance helps you navigate the documentation process correctly.
How Long Does a Roof Inspection Take?
A professional roof inspection takes 45 to 90 minutes for an average sized residential roof, including the exterior walkthrough, attic check, and written report preparation. Larger or more complex roofs can take 2 hours or more, especially when drone imaging or moisture scanning is included.
Do I Need an Inspection Before Buying a Home?
A roof inspection is strongly recommended before buying any home, even if a general home inspection has already been completed. General home inspectors do not always walk the roof or enter tight attic spaces, and a dedicated roofing contractor can identify $5,000 to $20,000 worth of hidden issues that change the negotiating position. Most contractors offer pre purchase inspections for $200 to $400.
Is a Drone Inspection Better Than a Traditional Inspection?
Drone inspections offer higher resolution photo documentation and access to roof areas that are dangerous to walk, making them ideal for steep, complex, or storm damaged roofs. However, drones cannot replace the tactile inspection of pressing on shingles to test adhesion or peeling back flashing to check the substrate. The best inspections combine drone imaging with a physical walkthrough by a certified inspector.
Why Grand Exteriors Is the Right Choice for Your 2026 Roof Inspection
Grand Exteriors brings the gold standard to every roof inspection across Lewes and surrounding areas, combining GAF Master Elite certification with the kind of detailed reporting that protects your home, your warranty, and your insurance coverage. As a family owned and operated company, we walk every roof like it belongs to a neighbor, which means our checklist never gets shortened to save time. From emergency repairs and full insurance claims assistance to flexible financing and ongoing maintenance program coverage, we make sure homeowners get answers, not vague verdicts. If you have not had your roof inspected in the past year, or if you suspect storm damage from any 2025 or 2026 weather event, contact Grand Exteriors today for a free estimate and a complete roof inspection checklist walkthrough you can trust.
Recent Articles